Install Ubuntu Server

So, after the CentOS news, I went on to search another release-based distribution. The obvious choice now is Ubuntu server (20.04 LTS at the time of writing).
Here are my steps to install the server on VMWare ESXi
Prerequisites
First, you have to download the ISO:
- Go to the site
- Select to download the ISO
- Upload the iso to the ESXi machine so VMWare can find it.
Next step is to set up the VM:
- I chose a 4 CPU/8GB RAM/24GB HDD.
- I also set up a fixed MAC address for the NIC, because the DHCP server assigns the same IP address based on the MAC address.
- I pointed the 'CD/DVD' to the freshly downloaded ISO.
Note: The number of CPUs and memory can be adjusted later (all you need is to shut down the VM). I found that for installation, about 4GB RAM is OK.
Note: You can set a thick and a thin disk. The difference between the two is that a thick disk is preallocated and can exceed the specified size (read: can grow above the specified size). A thin disk will be preallocated to the specified size, but it will not exceed it.
Installation
Installation is mostly 'going through the motions'.
Boot up
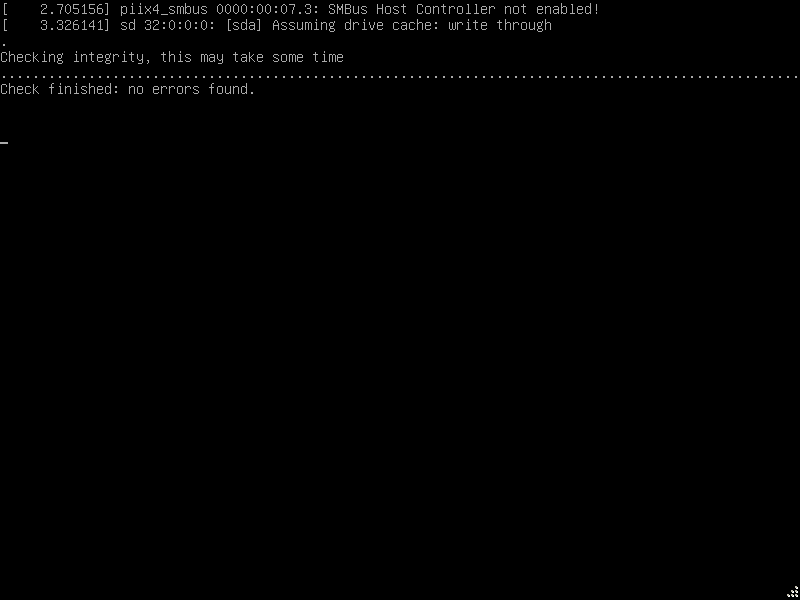
First we need to wait that the system boots up:
Language and keyboard
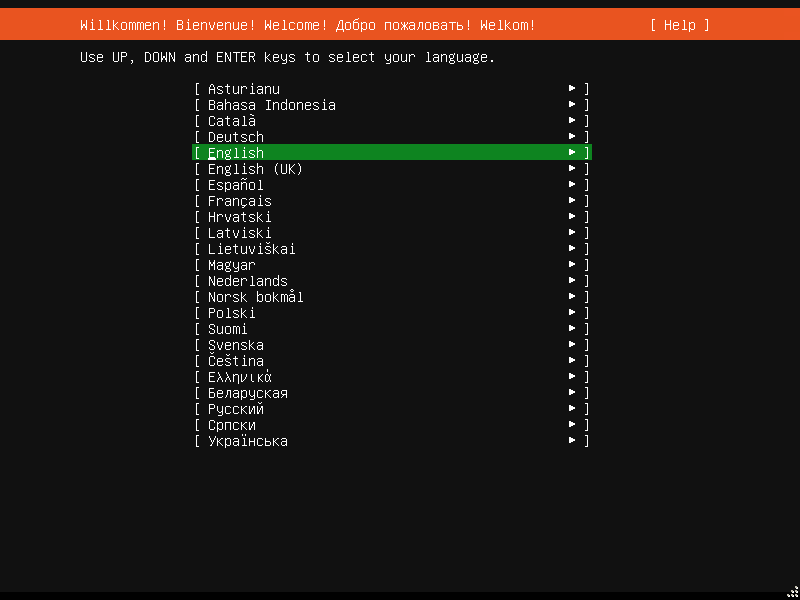
We start by selecting the language:
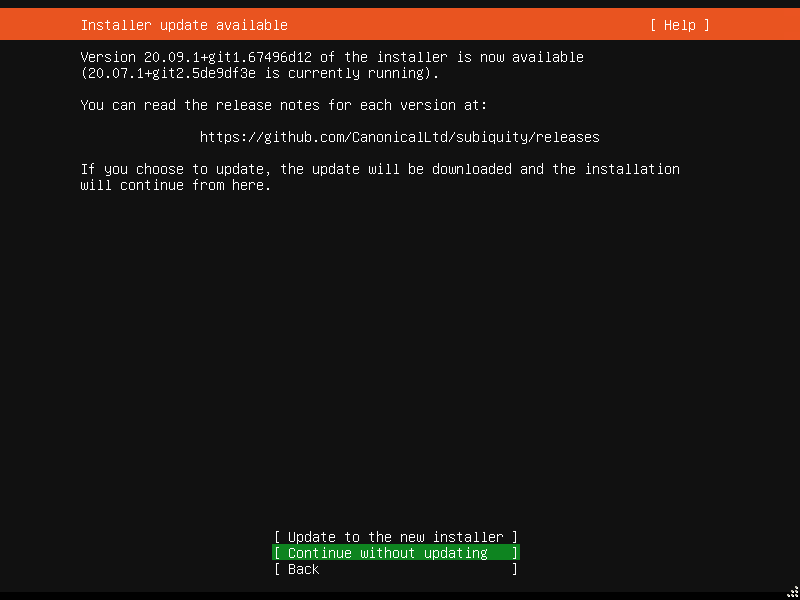
If there's a more recent installer, you'll get hte option to download and use it:
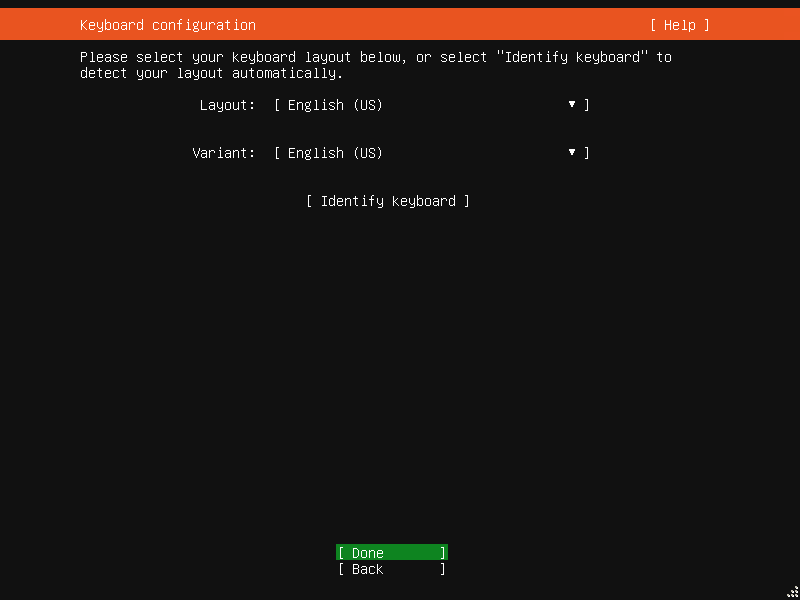
We select the keyboard and flavour:
Networking
Next step is to select the network:
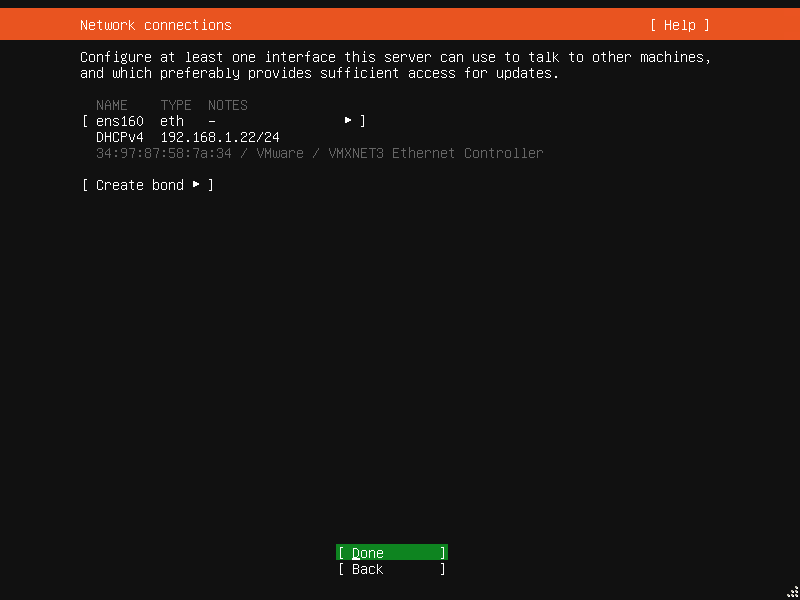
Here, I've left the DHCP, because I've had the address fixed via the MAC address.
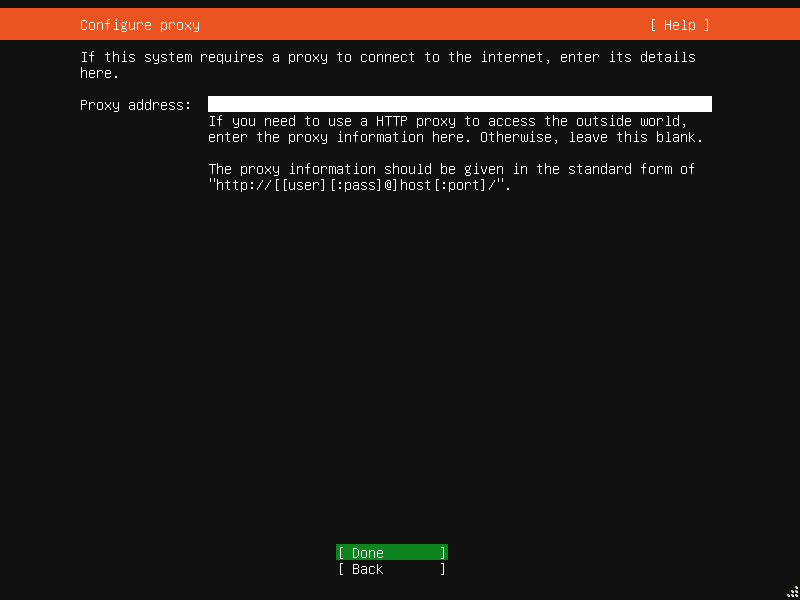
If you have a proxy, you have the chance to set it up here:
Next step is to select the mirror from where Ubuntu will download its packages needed for install.
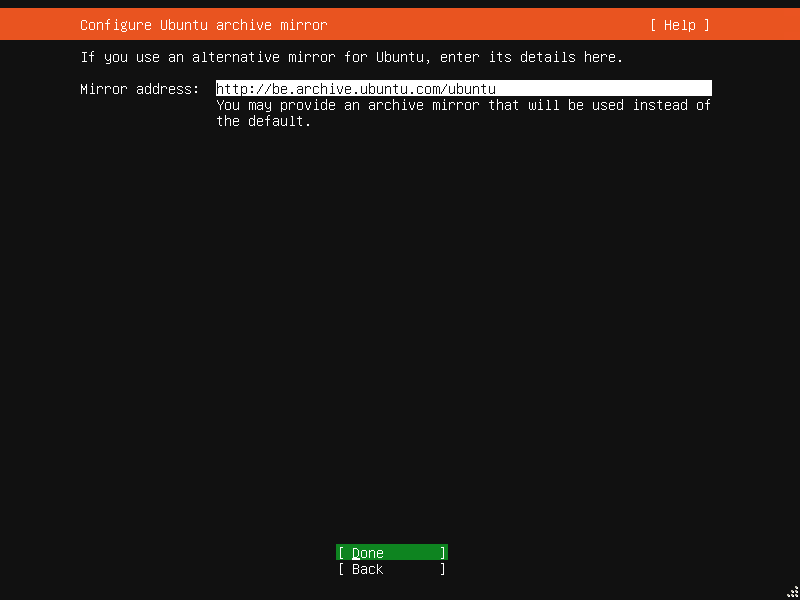
Note: Ubuntu will download quite a few packages, so it might be a good idea to figure out which mirror is faster from you before you move to the next step.
Size the disk
Normally, the default disk configuration is OK.
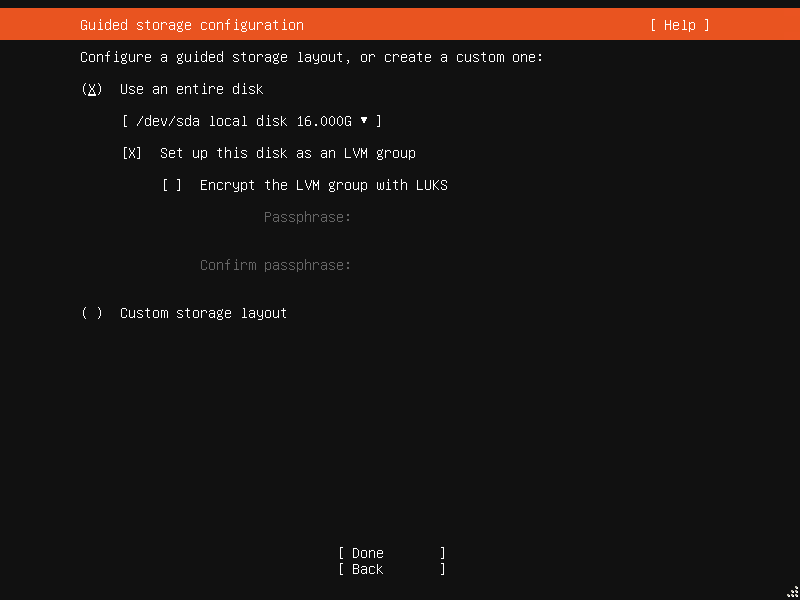
If you're worried about the data, you can encrypt it.
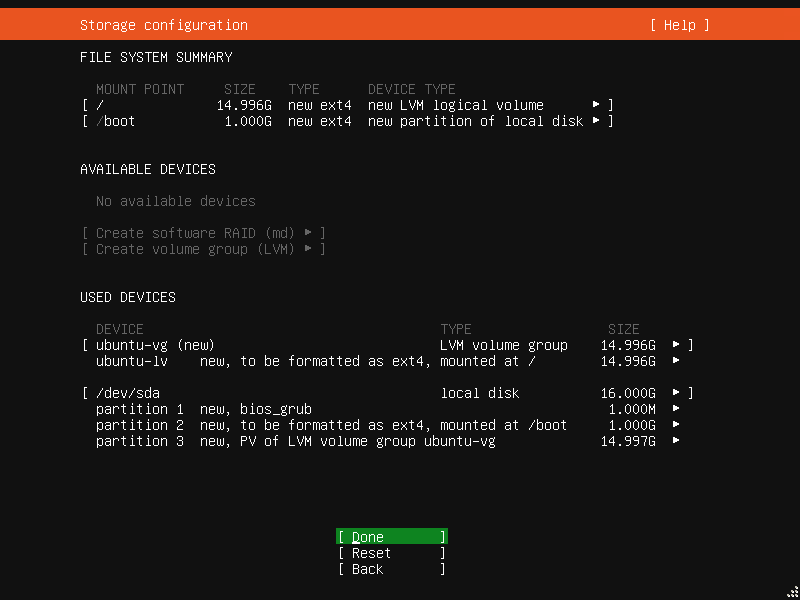
You can see the summary then:
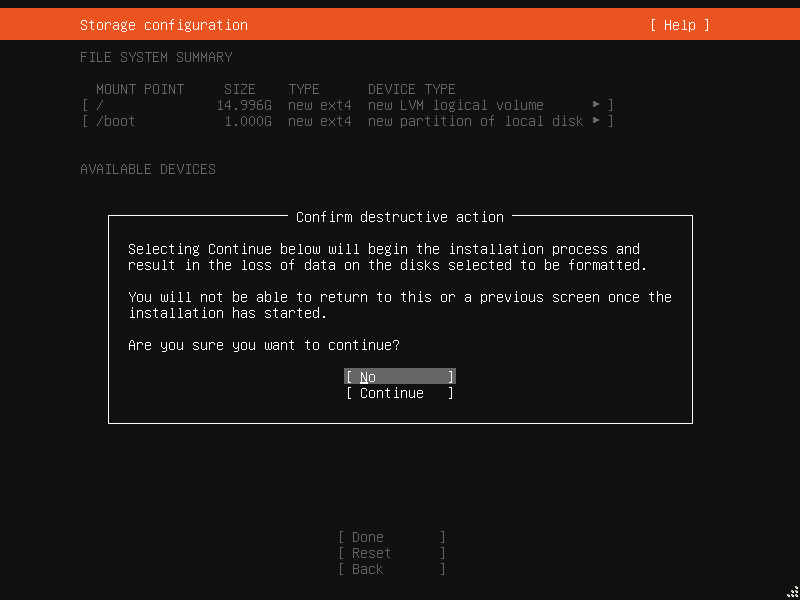
Once you're happy, you'll be asked to confirm the disk set up:
Configuration
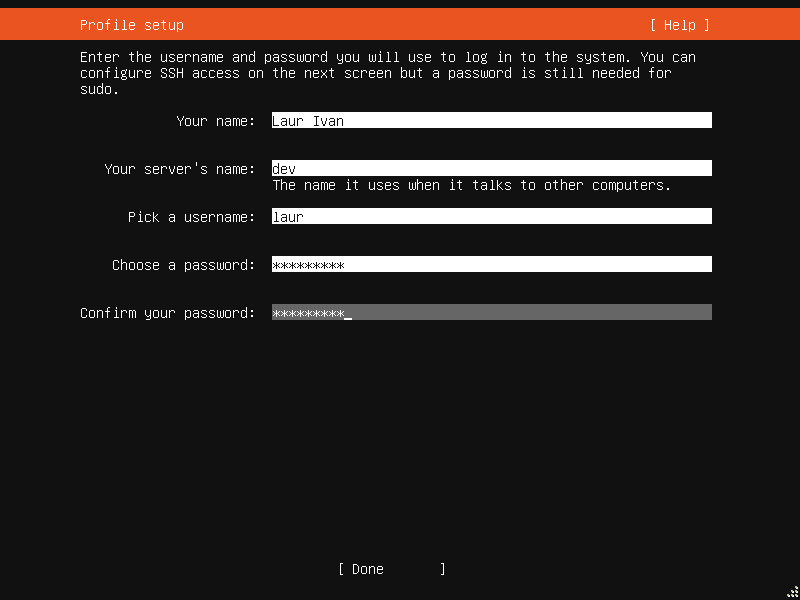
Now, we set the machine name and the 'root' credentials. As you probably know already, ubuntu makes profuse use of the sudo command, so the user you set up here will have sudo capabilities.
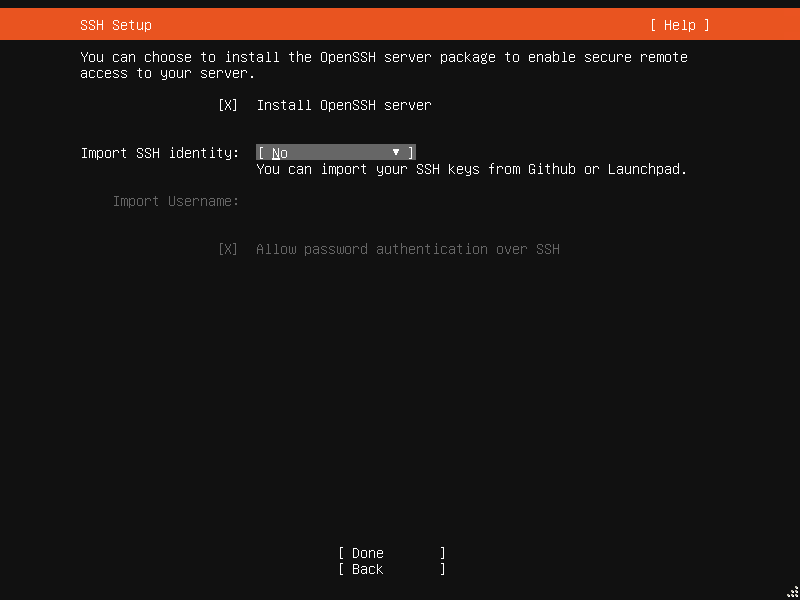
Once you did that, you are provided with the opportunity to install OpenSSH:
An then some popular snaps like docker:
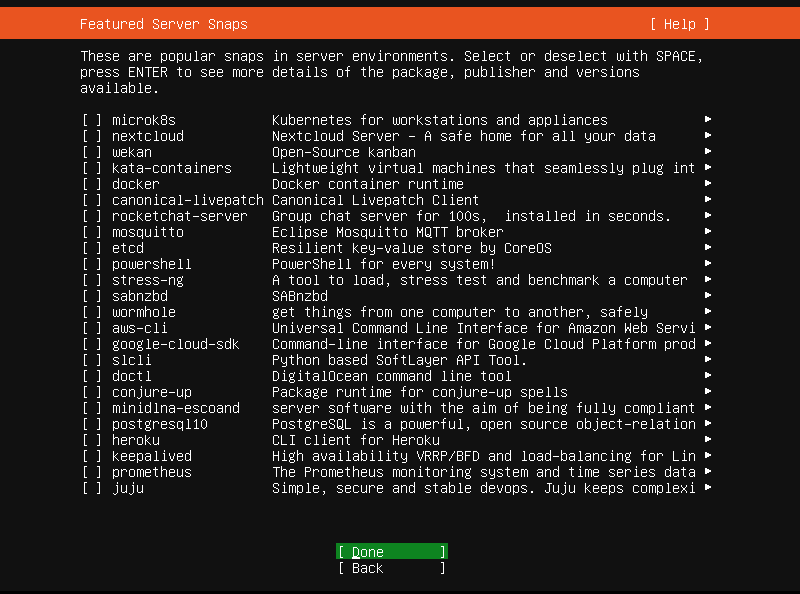
Once you hit 'Done', the installation will start.
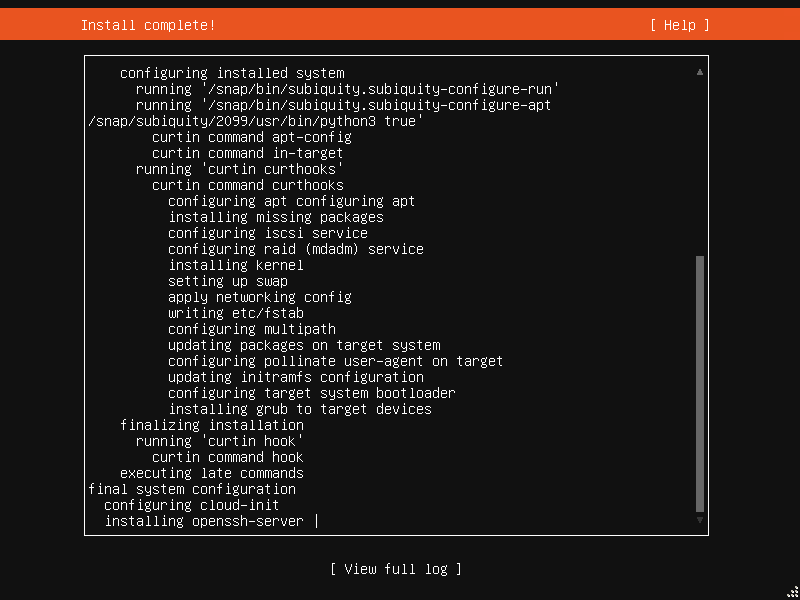
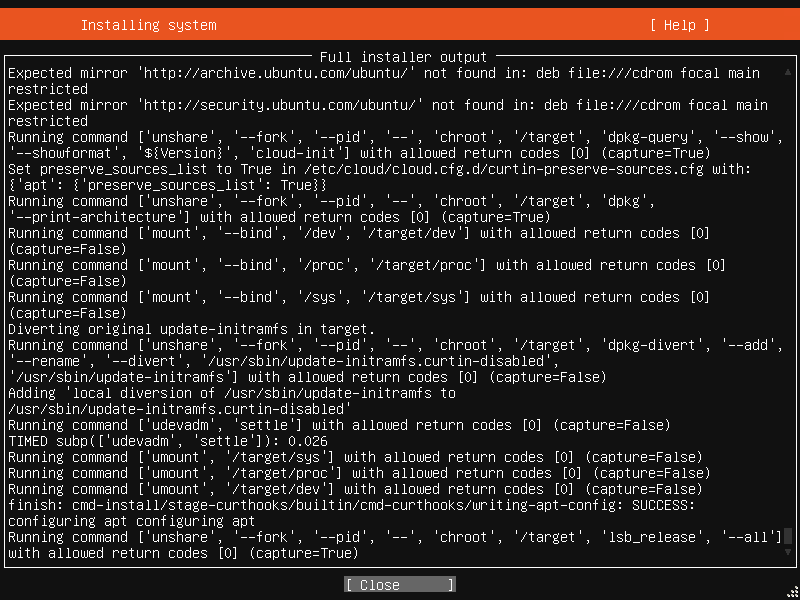
Note the install will take a while as it downloads a number of packages off the mirror you have set up at the beginning. If you get bored, feel free to look at the logs! :)
HTH,

