Rsync data from TrueNas to Synology - Prepare TrueNAS
Prepare TrueNAS for backup.

This is the second part of the series:
- Rsync data from TrueNas to Synology - Synology Setup
- Rsync data from TrueNas to Synology - Prepare TrueNAS - this one
- Rsync data from TrueNas to Synology - Back Up the Data
Here, I'll assume a vanilla install of TrueNAS, with some data to be backed up. If you feel you already went through some of the steps, feel free to skip them :-)
Enable the rsync Service
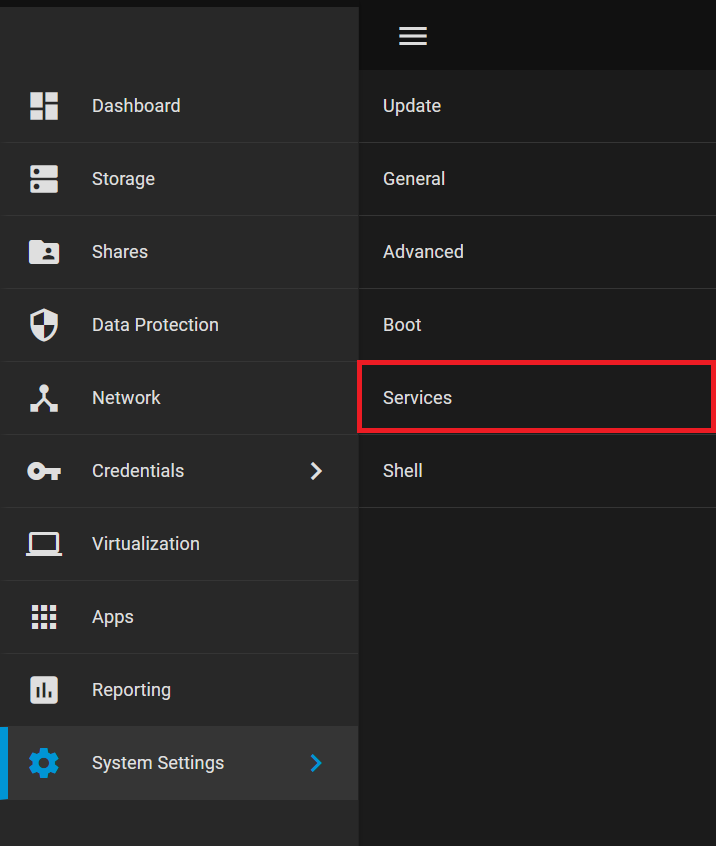
First, we need to enable the rsync service. Go to the System settings - Services from the menu:
Here, you find the rsync service:
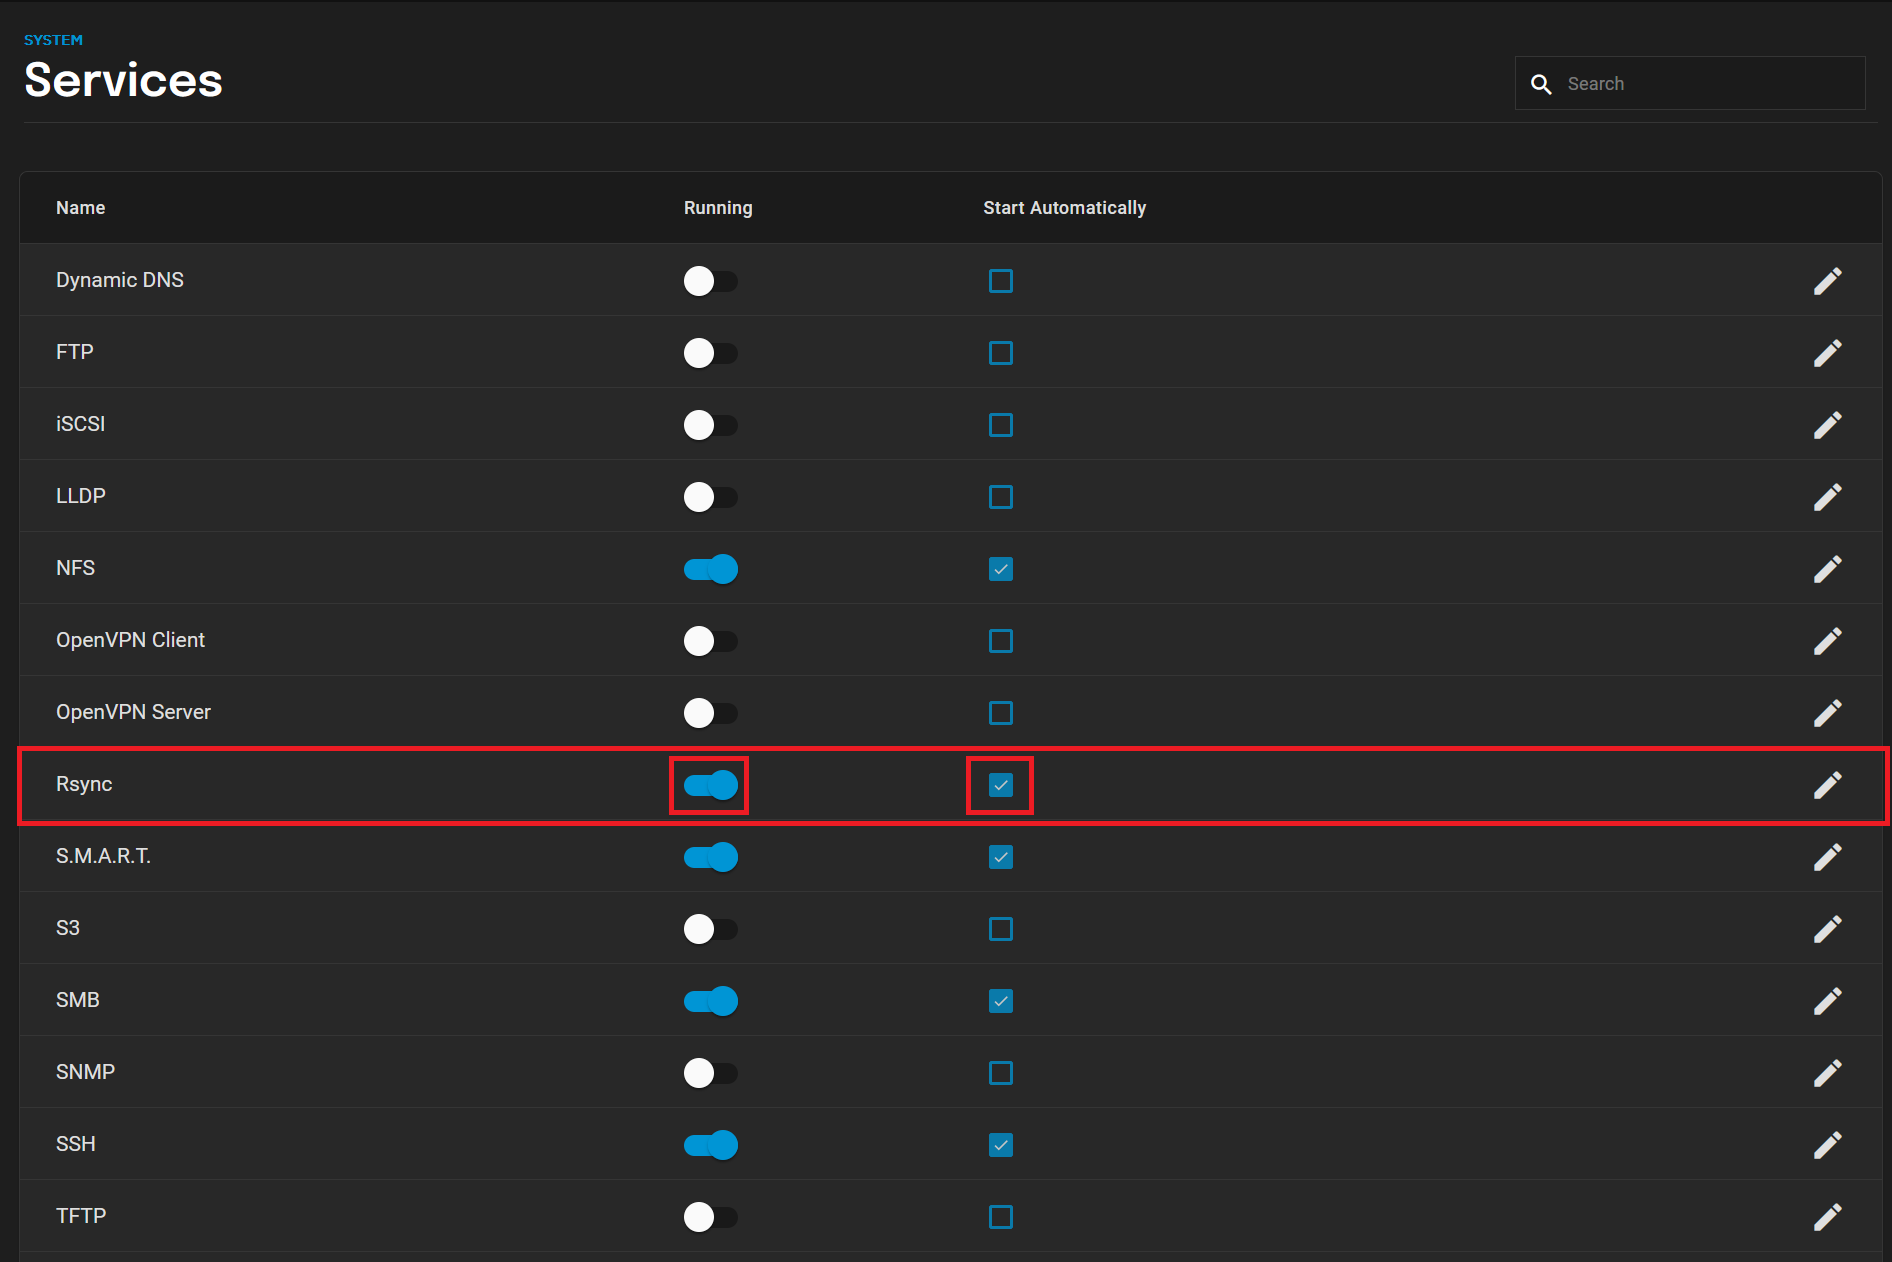
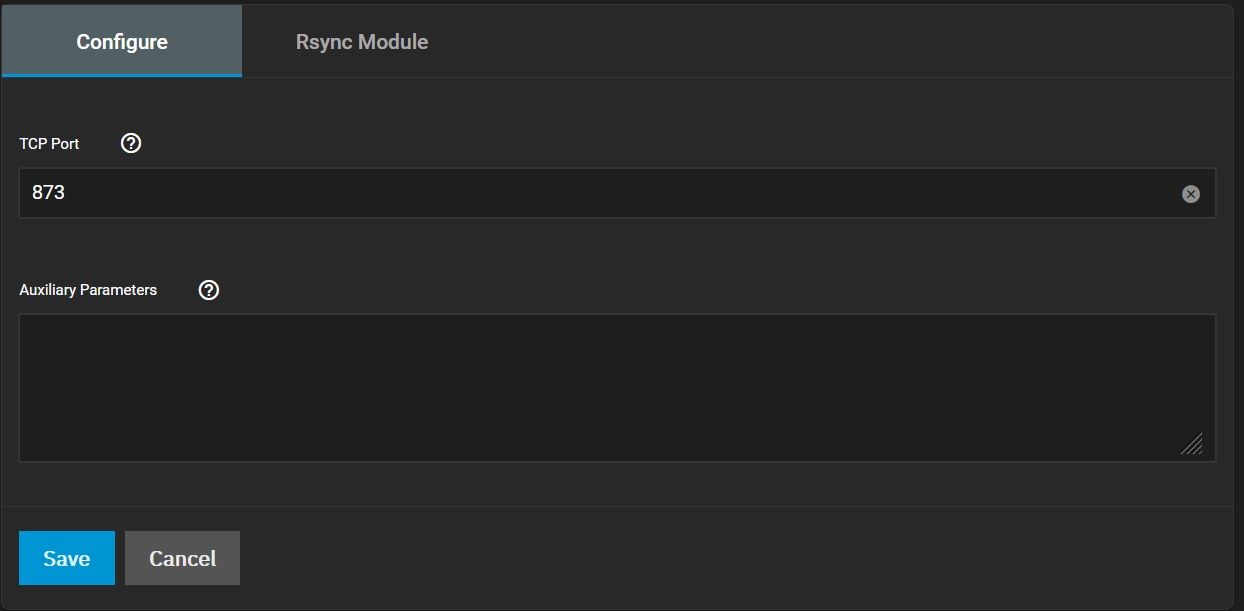
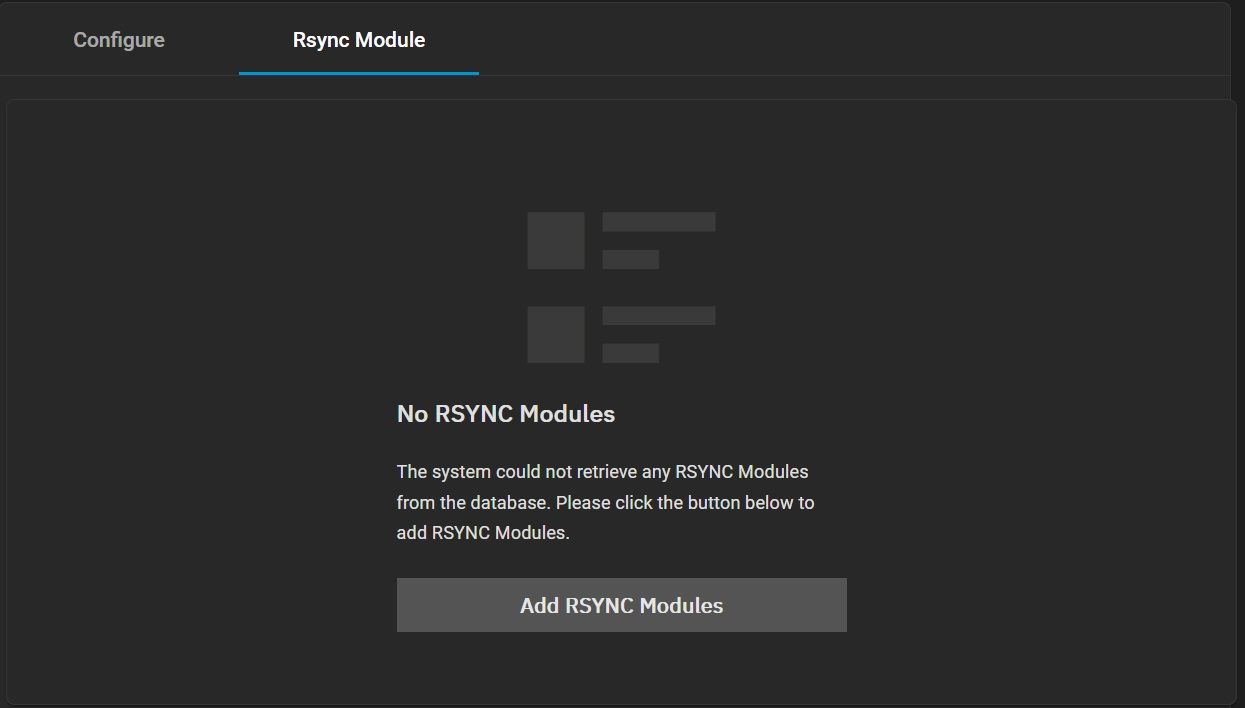
Enable it if it's not already enabled, and make sure it's started automatically. I have left the configuration with its defaults:
- Configure tab:
- Rsync Module tab:
Rsync user
I have created a rsync user from Credentials - Local Users menu:

It belongs by default to the rsync group. You can add other groups too:
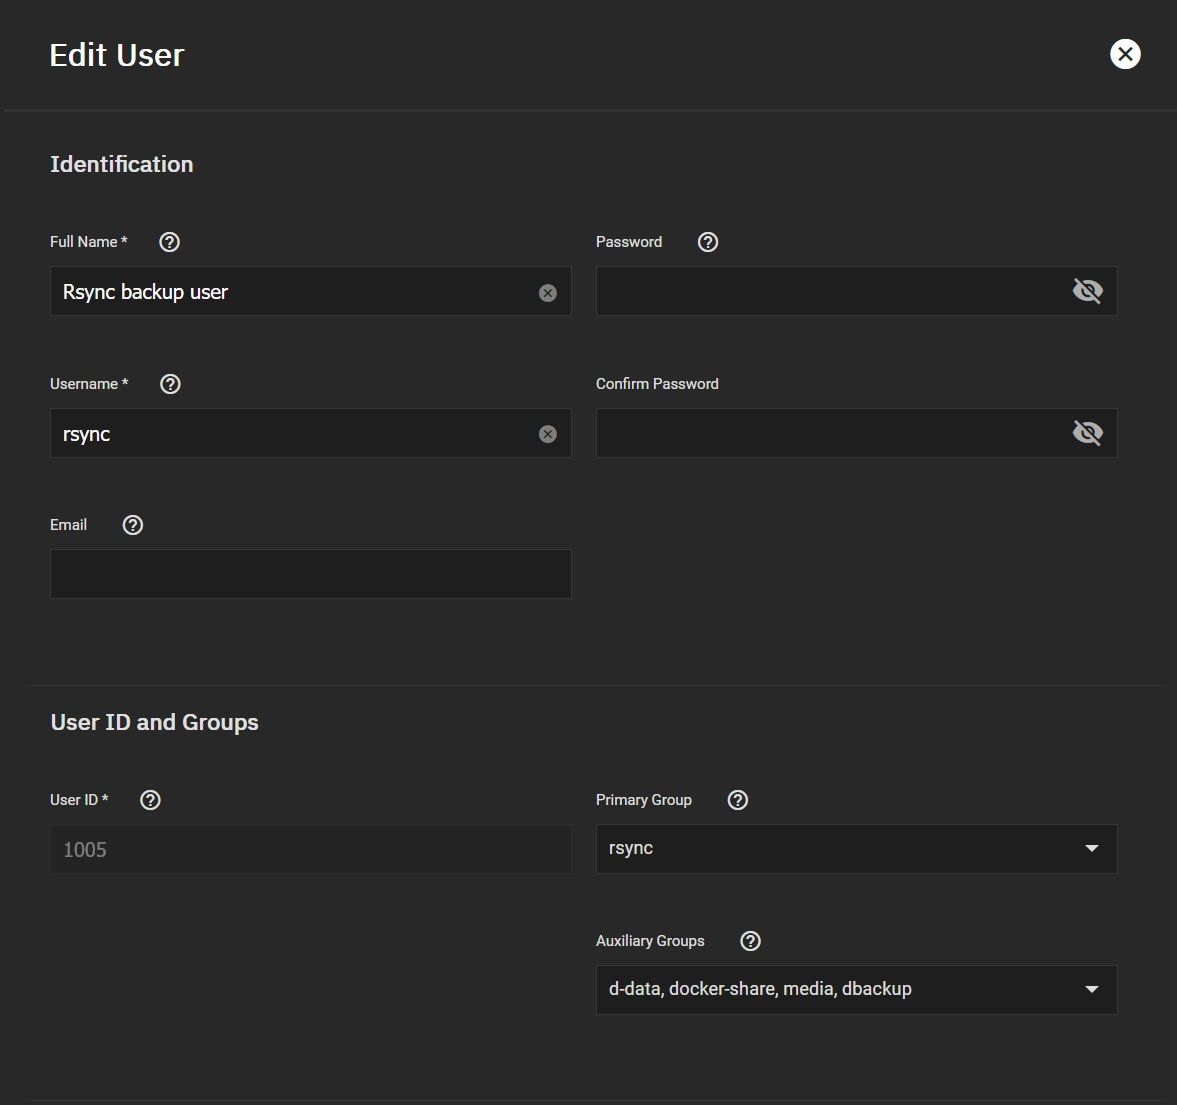
I have added other relevent groups like media (where i keep photos), dbackup (where i have backups from the various services intalled).
Note: Set up bash as shell and remember its password.
Generate ss h keys
Once the user is created, we can generate the public/private keys. We'll use this to allow the srync process to connect to Synology without a passowrd.
As these are command line instructions, open the shell terminal via System Settings - Shell menu and type
su rsync
Now, you're logged in as the rsync user. Now you can generate the public/private key pair:
ssh-keygen
Link to Synology
Now that we have the publik key, we need to transfer it to Synoloys's rsync user. First we log in normally, to make it known:
ssh rsync@ip.of.the.synology.machine
If this is the first time you connect to the Synology machine as rsync, you'll be asked to accept the key fingerprint. Type yes (you actually need to type yes!)
You can continue logging in with the password of the rsync user on the remote (Synology) machine, to make sure all is OK.
Exit the ssh connection and type:
ssh-copy-id rsync@ip.of.the.synology.machine
Enter the password one last time.
Now, when you try to ssh on the remote machine, you won't need to type in the password.
Bonus
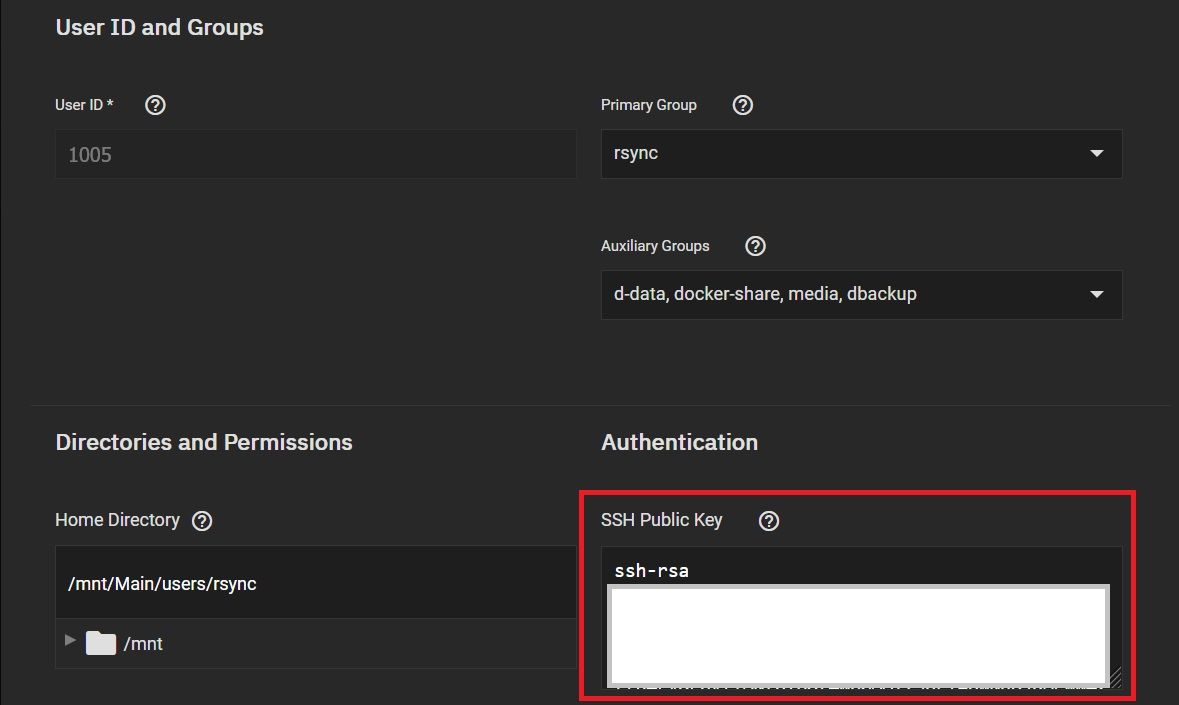
You can also copy the public key into the rsync user's configuration:
Now, the preliminary setup is done. Woo-hoo!

